How To Configure
DineAmix for use with I3DVR Video Capture System
|
Login to Administer System:
In order to configure DineAmix for use with the I3DVR video
capture system you must login as the system administrator. You must
login at the main console. Stations only provide POS access and cannot
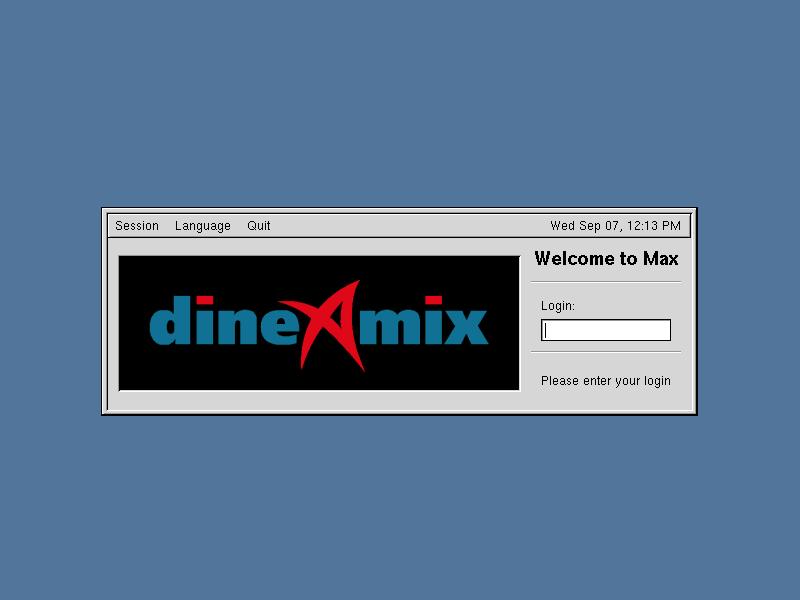
be used to configure your system. At the prompt show below enter
"postech" as the Login name and press enter. When prompted for a
password enter "1pospass".
The Desktop:
Once you have enter a proper login
account name and password the desktop will be displayed as shown below.
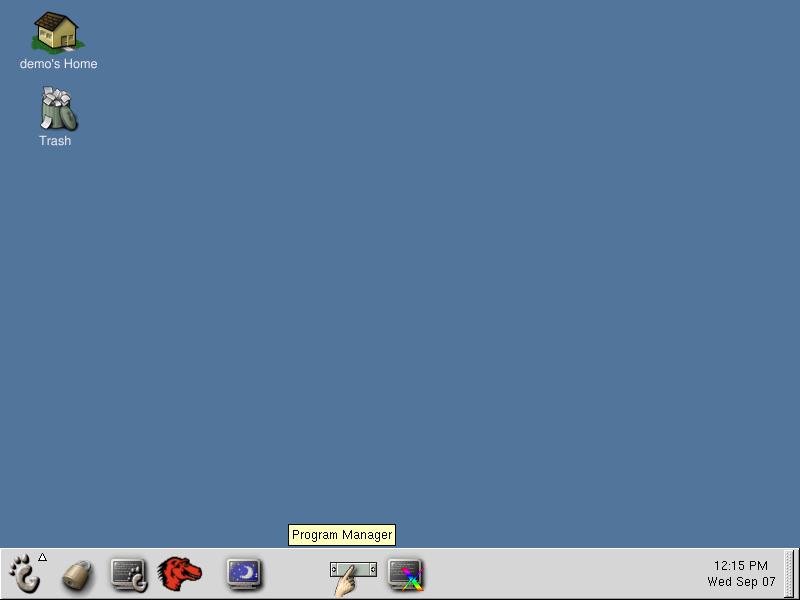
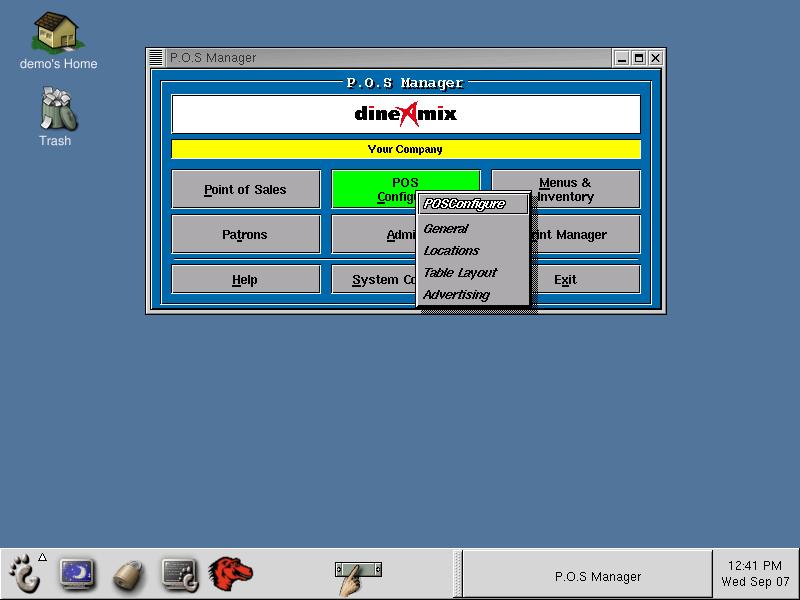
From the desktop click once on the POS (point of sales) manager Icon to
activate the POS Manager application as show below.
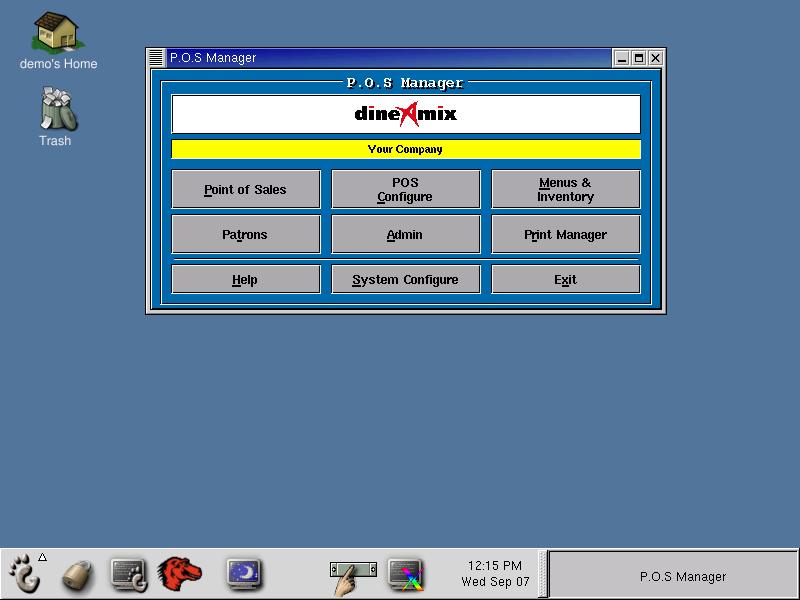
From the POS Manager select "System
Configure".
From the System Configure application choose the second tab "Ports" as
show below.
Our first step is to
create a spooler port that will be used to communicate data from the
DineAmix POS to the I3DVR system. If a port does not yet exists then
you must create one. Press the "ADD" key and enter a port name (max 8
characters) and a port description. We have chosen to call our port
"i3dvr" but any name will do. You must enter the following settings as
described below;
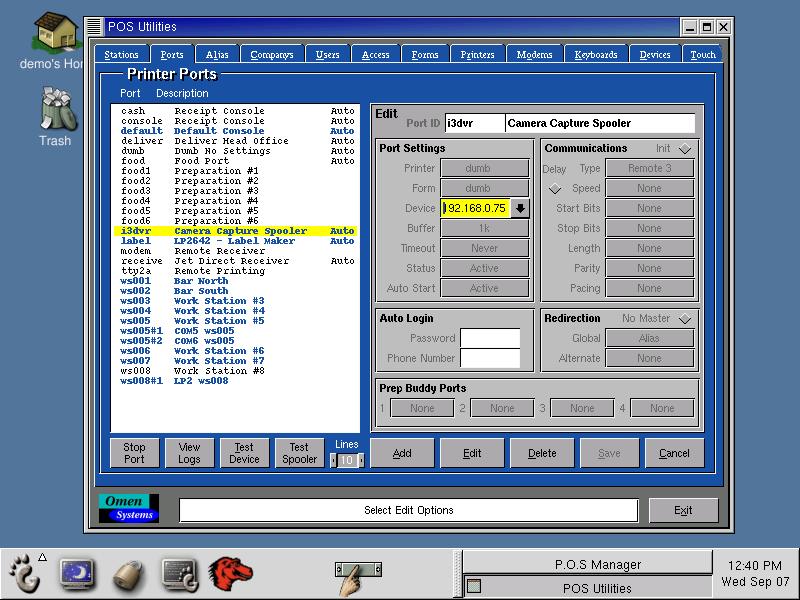
Port Settings:
- Printer: This field is
used to indicate the type of printer connected to the port. Since no
printer exists choose from the list "dumb". This printer does not add
control codes to data transmission.
- Forms: Again this field
does not apply to our configuration so choose "dumb" as the form name.
No formating is used with this form.
- Device: From the drop
list choose "Custom" this will open up the device entry field where you
can enter the IP address of the computer you will communicate with.
- Buffer: This filed should
be set to 1K.
- Timeout: "Never" timeout
should be specified.
- Status: For the port to
be active choose "Active" from the drop list.
- Auto Start: To ensure the
port starts automatically when the computer is started choose "Active"
from the drop list.
- Communications: This
indicates the port to be used. You can choose from "Jet Direct" (port
9100) or from "Remote 1" to "Remote 10". (ports 9101 to 9110)
All other settings will be ignored and should be set to "None" as show
above. Press the "Save" button to record your changes. Highlight the
port and press the "Stop Port" button to stop the port and "Start Port"
button to start the port with the new settings.
Setup 2 - Activate I3DVR in defaults.
To start the I3DVR integration choose
the "POS Configure" menu and choose the "General" selection.
From the "General" configure program choose the second tab "General" as
show below.
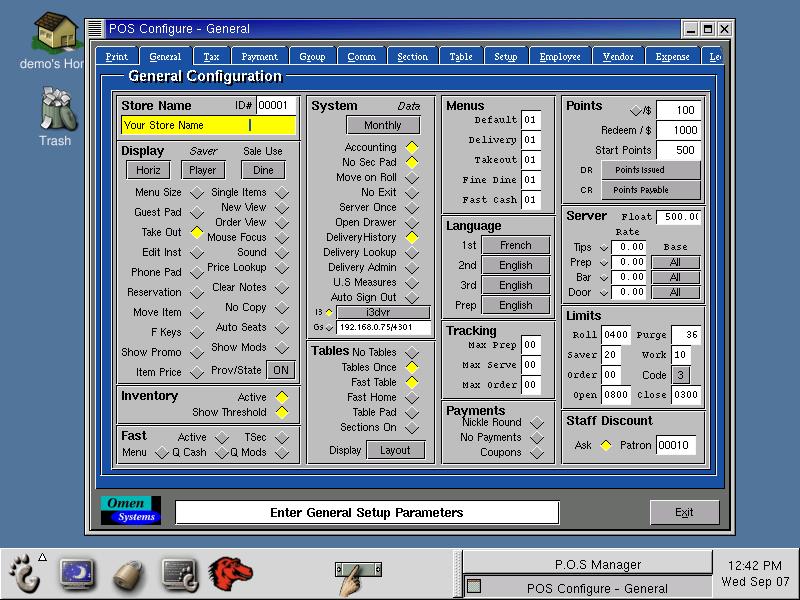
To Activate I3DVR integration click on the "I3" check button so it is
yellow and choose the port used to communicate with the I3DVR system
from the drop list next to it. Press exit to save your changes and
restart the POS stations for these changes to take effect.
You are done. For further assistance contact technical support at;
1-888-411- (6636) or,
E-mail "support@dineamix.ca".