| Configuration -> General Setup -> Tables |
In order to use table service, we must first create a list of tables. The system automatically creates the first 96 tables. The system supports up to 1000 tables and can assign up to 96 tables per server. Store operations that do not use tables can skip this section.
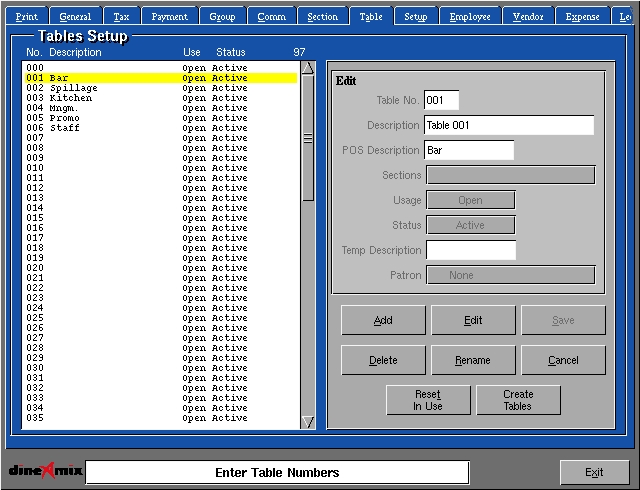
Add: Used to add a new Table. Press the "Add" button and enter a number from 1 to 999 in the Table number field. Enter or Select options from the following fields;
Edit: Used to change Table information. Select a Table from the list and press "Edit". Change the information as required and press Save to record your changes.
Delete: Used to remove a Table from the list. Select a Table from the list and press "Delete". You will be prompted to confirm your choice.
Rename: Used to renumber a Table. Select a Table from the list and press "Rename". Enter the new Table number in the number field and press RETURN to record the change.
Cancel: Used to deselect a Table from the list or to exit a Table "Add" or "Edit" without recording any changes.